

How to make transparent background in photoshop do not be afraid its really simple process lets check it out keep reading.Having a transparent background gives us lots of advantages of using an image. Whether you have to change the background image or the background color, you need an image with a transparent background. Particularly for product images, a transparent background is a must need. It gives you lots of flexibility when you want to use the image for various purposes. Do you know about making a transparent background? Knowing the process will be too much beneficial for you. Feeling excited about it?
Okay, alright. In this tutorial, I am going to share with you how to make transparent background in photoshop. Let me tell you that you don’t need to have a deep knowledge of Photoshop for understanding the process. By following this method you will able to make the background transparent of any picture. Moreover, you can also utilize this method for making a logo background transparent.
Therefore, follow this tutorial carefully and learn the technique of making an image background transparent. Let’s dive into the tutorial.
How to make transparent background in photoshop step-by-step guide
Table of Content:
Step 1: Open the image and unlock the layer
Step 2: Picking the pen tool
Step 3: Creating Path around the object
Step 4: Making selection of the path
Step 05: Inverse selection
Step 06: Saving the picture with a transparent background
Step 1: Open the image and unlock the layer
In the first step, you’ve to start by opening the image in Photoshop. There are two different ways to do that, dragging the image directly on Photoshop or choose an image destination from File>Open option in Photoshop.

Normally, the layer remains locked after opening an image. You can notice a lock icon on the right side of the layer. Before you jump into the next step, double-click the layer. Then, a new window will appear. You can rename the layer if you want or simply press ENTER.

It will unlock the layer and there will be no lock sign.
Step 2: Picking the pen tool
Basically, you have to make the selection of your object. There are several tools available to perform the procedure. But I strongly recommend you use the Photoshop pen tool as it gives high accuracy. Pick up the tools from the showing options.
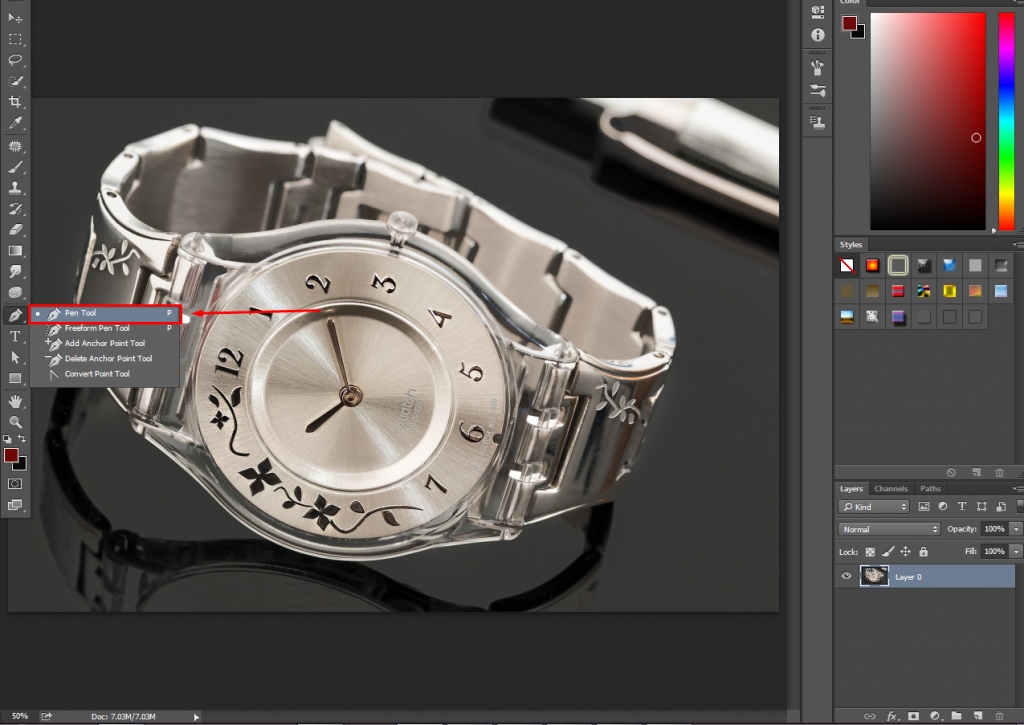
After clicking on it, it will enable selection opportunities. Let me shortly introduce you with this tool. Pen tools can help you to select an object with vector lines. It is one of the most accurate tools for making a selection in Photoshop. In the next step, you will learn the process of making the selection with it.
Step 3: Creating Path around the object
To make a precise selection zoom in the picture by pressing “CTRL & +”. After zooming in, you can move the picture by pressing the spacebar and left-mouse. After zooming in, start creating selecting around the object by clicking on the left mouse. Have a look at the below image.
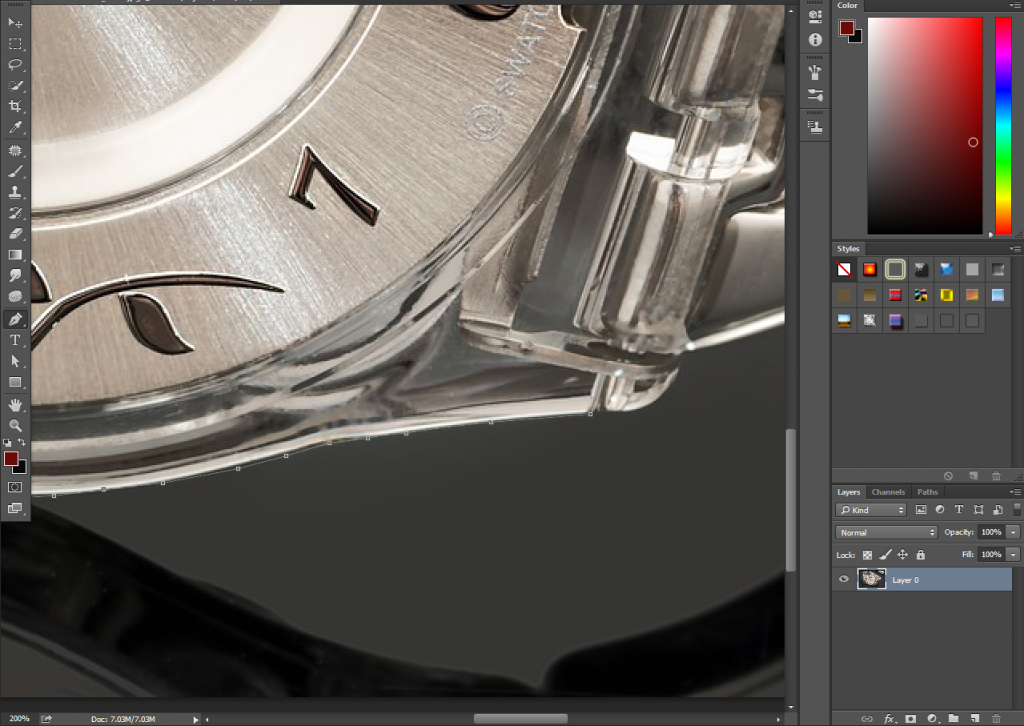
In this way, you have to start creating paths around the surfaces. Carefully draw vector lines around the subject.
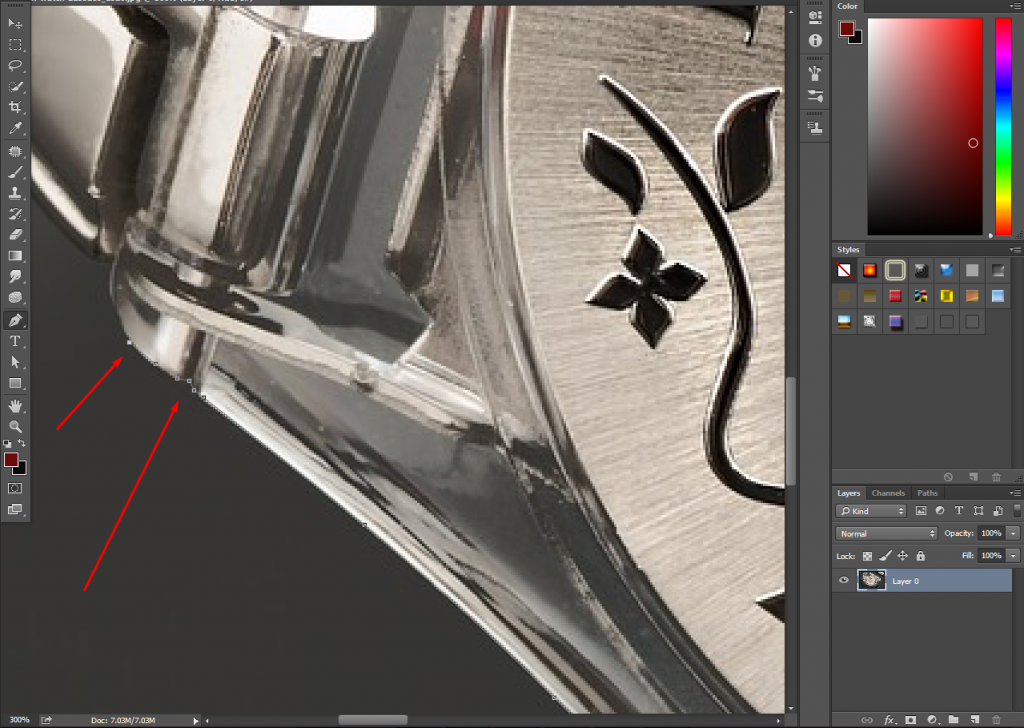
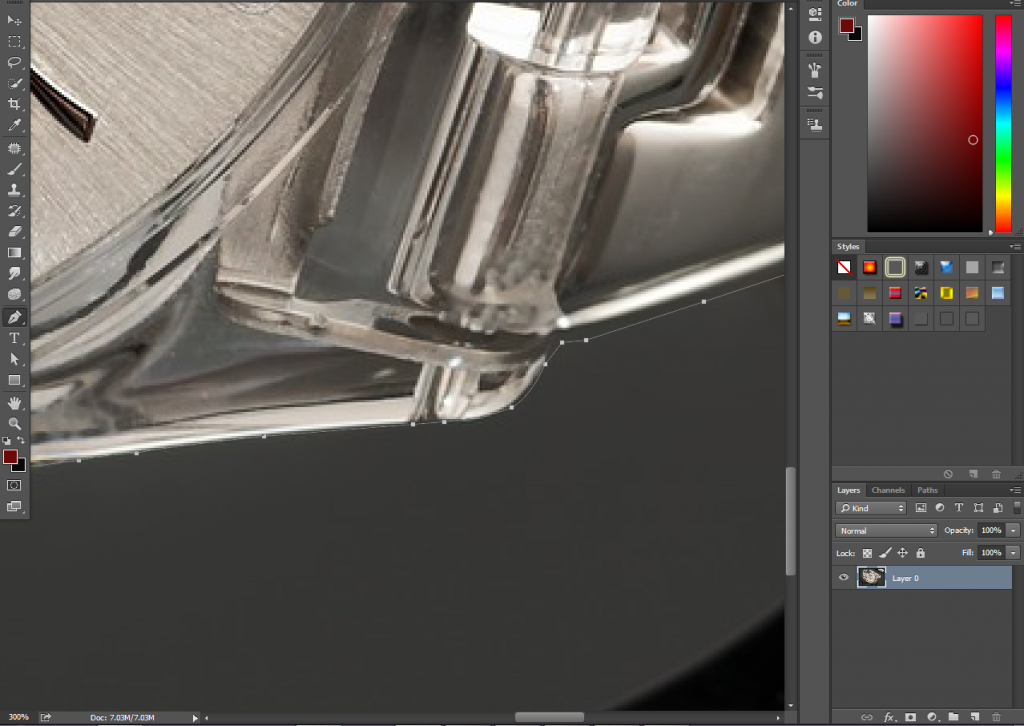
Particularly, in the bend area make sure that you are doing it perfectly. To create a bend line with the pen tool, press and hold the mouse then bend it according to your needs. On the upper side, there is another tricky area where you should be careful. Let me show you.
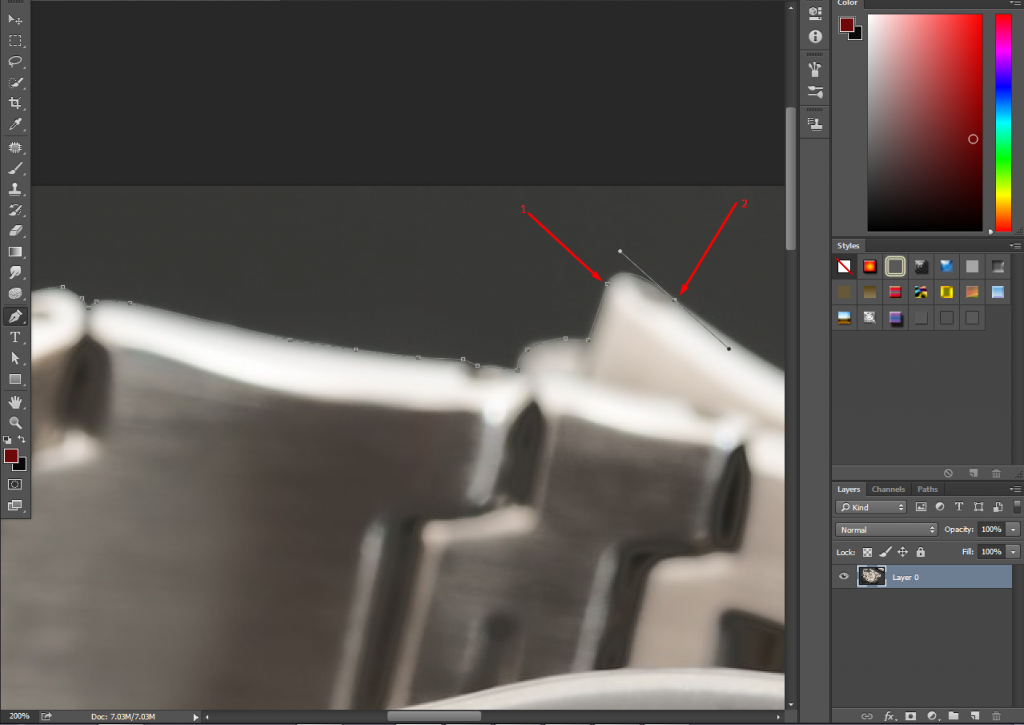
In the picture, I am indicating two points with the arrow. At the right arrow, bend the mouse as per your need. Then there will be an extra vector line not matching with the surface. To keep it in the surface line, press ALT+ left mouse. It will enable you to put the line with the surface. Ultimately, make sure that you are finishing the path just at the start.
Now, move to the next steps.
Step 4: Making selection of the path
In the 4th step, you are going to make a selection of your created path. Don’t have to be tensed. This is an easy step. Now, Zoom out the picture (space & -) and bring back into the normal view.

Now, you need to right-click on it and choose the option showing in the picture below.
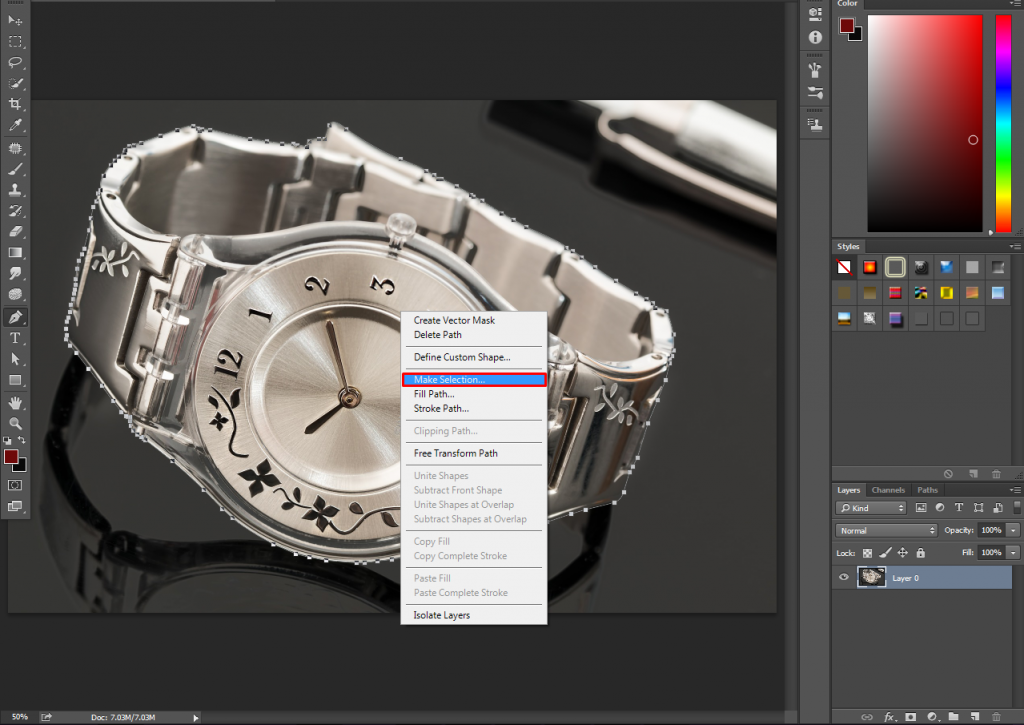
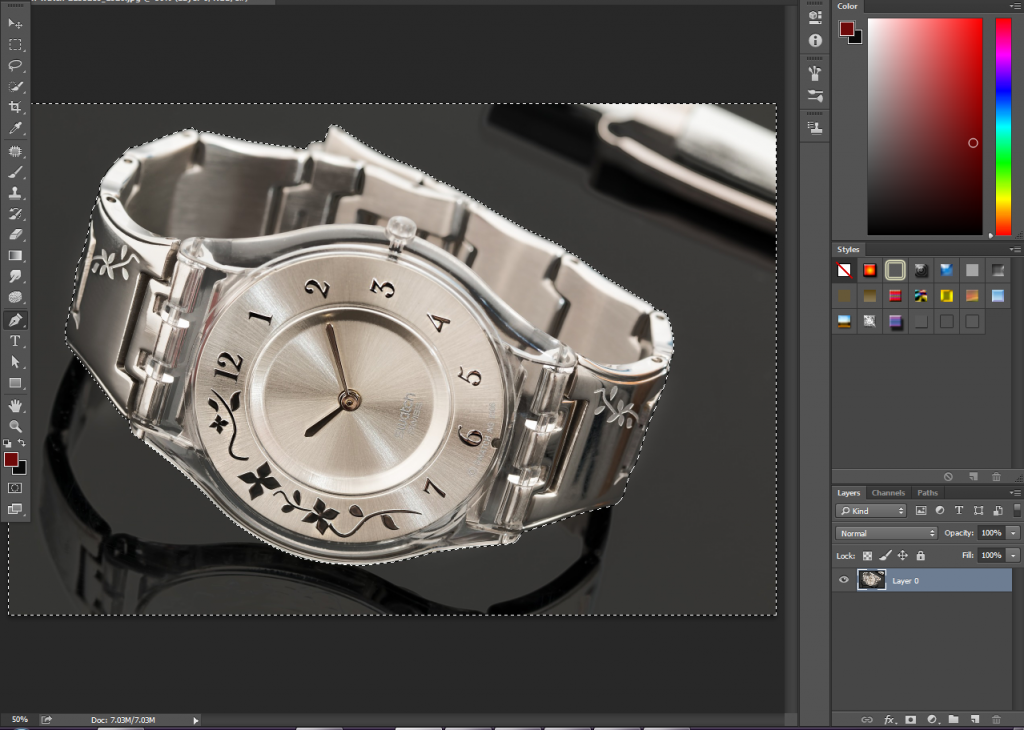
After this, the view will be a change of the path and it will be turned into selection.
How to make transparent background your logo and any images in photoshop
Our Popular Services, You Can Try
Background Removal Service
Color Correction Service
Raster to vector conversion service
drop shadow service
Ghost Mannequin Photo Editing Service
image masking service
Jewellery Photo Editing Service
Landscape photo editing service
Neck Joint Service
Newborn Photo Editing Service
Photo Manipulation Service
Photo Retouching Service
Portrait Photo Editing Service
Product Photo Editing Service
Real Estate Photo Editing Service
Wedding Photo Editing Service
Clipping Path Service

But at this point, your object is selected. In the next step, we will fix it.
Step 05: Inverse selection
As you are willing to make a transparent background in Photoshop, you’ve to inverse the selection. To do that, click on CTRL+SHIFT+ I.
After doing it the background will be selected. Now, hit on the Delete button from your keyboard and see.
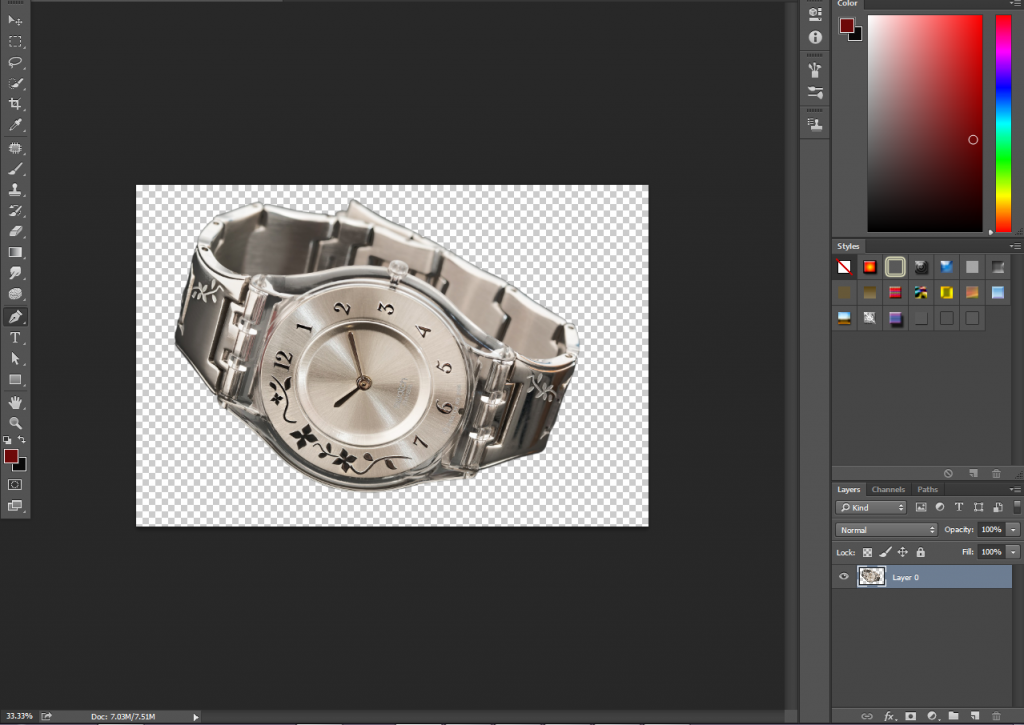
Hurray, you have got your background transparent in Photoshop. Isn’t it great? Yes, I think so.
But we have not finished the whole process yet. Just a little bit of more tasks are remaining.
Step 06: Saving the picture with a transparent background
In this step, you will learn how to save a picture with a background transparent in Photoshop. This is an easy but important step. If you save the picture in the wrong format, you will not get a transparent background.
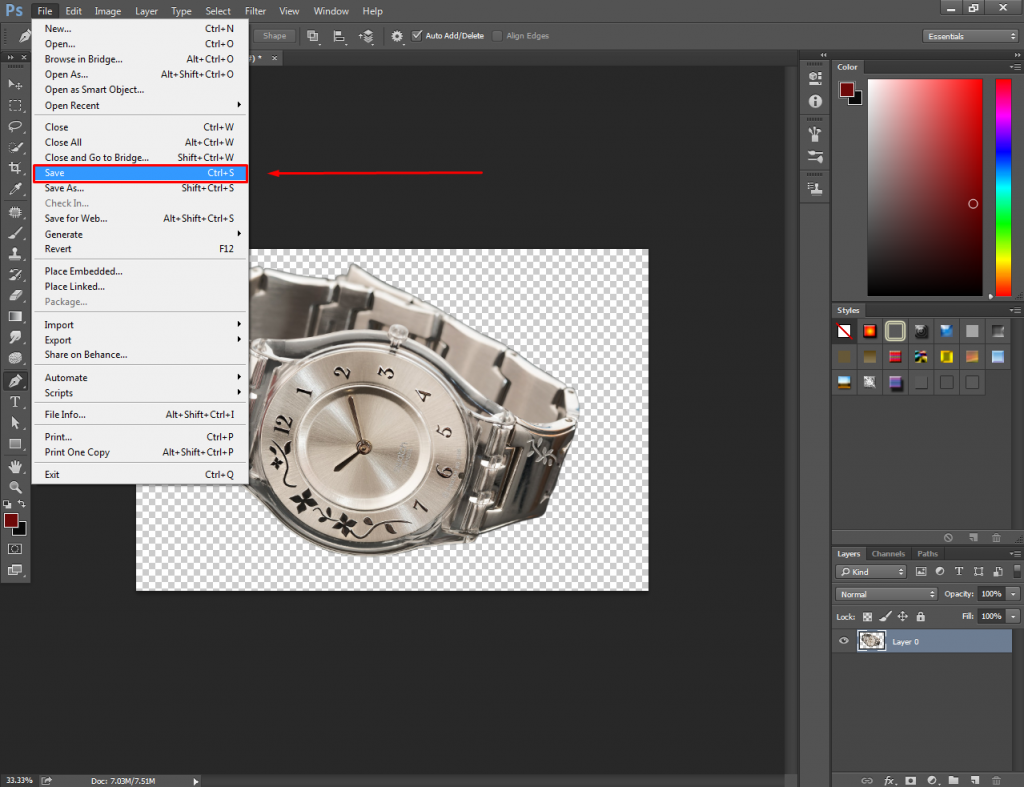
Go to the save option from the “file” option. After clicking on the save you will see a new window asking for the file location, name, and type.
When you are choosing file types, you need to choose PNG.
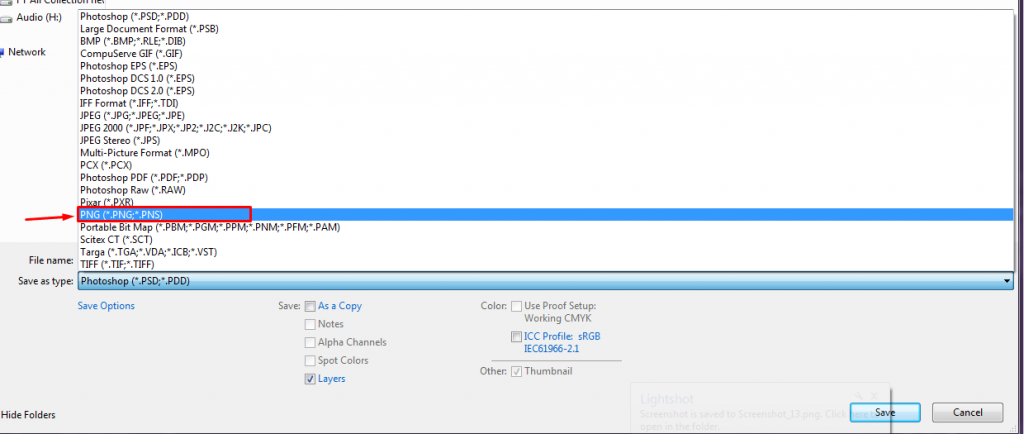
After choosing the PNG type, you can save your image.
Finally, we are at the endpoint of the tutorial. I hope, you have got the proper knowledge to make a transparent background in Photoshop. From now on, you should not have any problem in doing this. In the first attempt, you may not get the proper accuracy that you are expecting. There is no need to worry about it. Regular practicing will make you better. So, keep practicing and improve yourself.
Wait a minute buddy. For your convenience, I have found some common mistakes that people do while making a transparent background in Photoshop. Have a look at it and stay away from this type of mistake.
- Improper selection
Be careful at the time of creating the path. There is no need to do any hurry. Improper path selection will spoil the rest of the work. You can’t afford to make a mistake about it. Sometimes, people use the quick selection tool and magic-wand tool for photo editing background. In most cases, these tools can’t provide an accurate result as like as the pen tool. Keep it in your mind.
- Saving in JPG
Perhaps, JPG is the most common type of photo format to us. As a result, we tend to save the picture in JPG format. This is a bad mistake. JPG doesn’t support transparency what so ever. Therefore, if you save a picture in JPG after background removal, you will get a white background image. In the future, you won’t be able to change the background in a quick time. To get a transparent background in Photoshop, always save the picture in PNG form after photo editing.
- Don’t forget to do the inverse selection
New photo editors sometimes forget to do the inverse selection. In this case, the object itself gets deleted instead of the background. So, you should stay away from this type of mistake. By any chance, if you delete your object, you can bring it back. Do you want to know how? Press CTRL+Z to undo your step.
Conclusion
That’s it. Try to stay away from these mistakes, it will save your time and afford. I Hope, you have earned lots of essential knowledge from this tutorial. To get more exciting photos editing tutorials, tips, and tricks stay connected with ABCD. Contact us for any kind of inquiry related to Photoshop and photo editing.
You might have more questions in your mind. We can understand your curiosity. Let’s have a look at the FAQ.
FAQ
Q. how to make transparent background in photoshop
A. It’s a long procedure. The basic theme is to extract the background from the object with the help of selection. Then make it transparent. The ultimate guideline to make a transparent background in Photoshop is available in the above.
Q. How to make the background transparent in paint?
A. built-it feature is available in the paint to perform the procedure. After opening an image in Paint, you have to select a magic select option. Then clicking on the background, you will be able to make it transparent.
Q. What is the most accurate way to make a transparent background in Photoshop?
A. Using the Photoshop Pen tool is the most accurate way to create a transparent background. The pen tool offers a precious and accurate way to make a selection.
Q. Does JPG support transparency?
A. No, jpg doesn’t support a transparent background. If you still save a transparent picture in jpg, you will get it in the white form.
Q. How to make part of an image transparent in Photoshop?
A. To make transparent a specific part of an image, you have to select the part with the pen tool. After selecting the area, press Delete.
[optin-cat id=9621]


