

It seems that you are connected with Photo editing. Photoshop is one of the best options when it comes to photo editing. There are lots of excellent options available in Photoshop. The pen tool is one of those. The pen tool gives you the option to create a clipping path in Photoshop. With the help of this tool, you can make a precise selection of any objects. Feeling interested to know more about it?
Just read this post till the end. You will learn everything that you want to know about Photoshop silhouette & Clipping Path. In this post, I’m going to cover everything about Clipping path Photoshop. Also, at the end of the Clipping path tutorial, another tutorial is available for you.
Without making any delay, let’s get started.
Right at the start, I would like to inform you what the clipping path exactly is. A clipping path is one of the best options for the precious selection of an object. Literally, it is the procedure of creating a vector path in Photoshop with the help of the pen tool. Professional Photo editors use this option for accurate selection. With the help of this option, you can precisely select any type of object. It doesn’t matter what shape it is. You just have to create vector paths and select the object. In a few minutes, you are going to learn the procedure. Isn’t it great? So, let’s continue.
How to make a Clipping Path Photoshop?
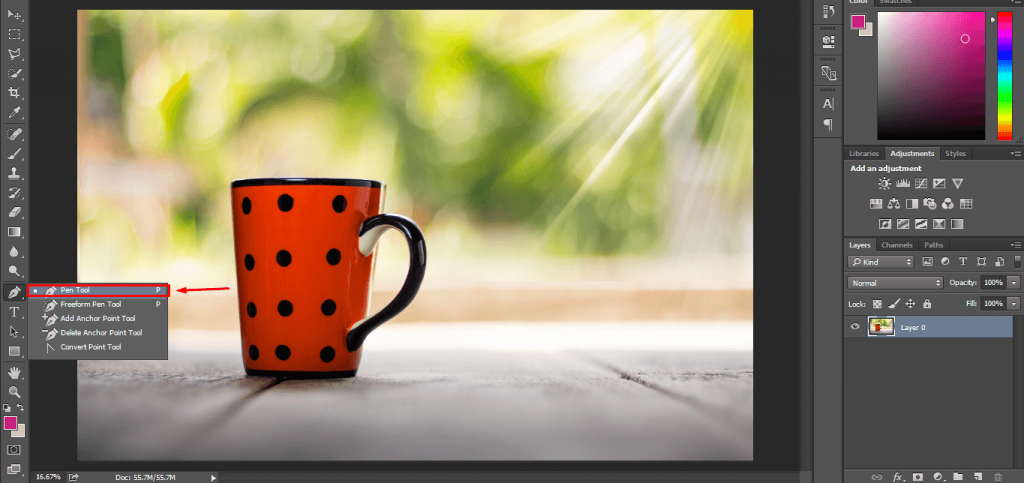
Step 1: Open Image and Select Pen tool
Let’s have practical knowledge. I am going to show you practically how to make a clipping path in Photoshop. First of all, open an image in photoshop, and then you have to select a pen tool to use Clipping Path in photoshop. To select the tool, click on there.
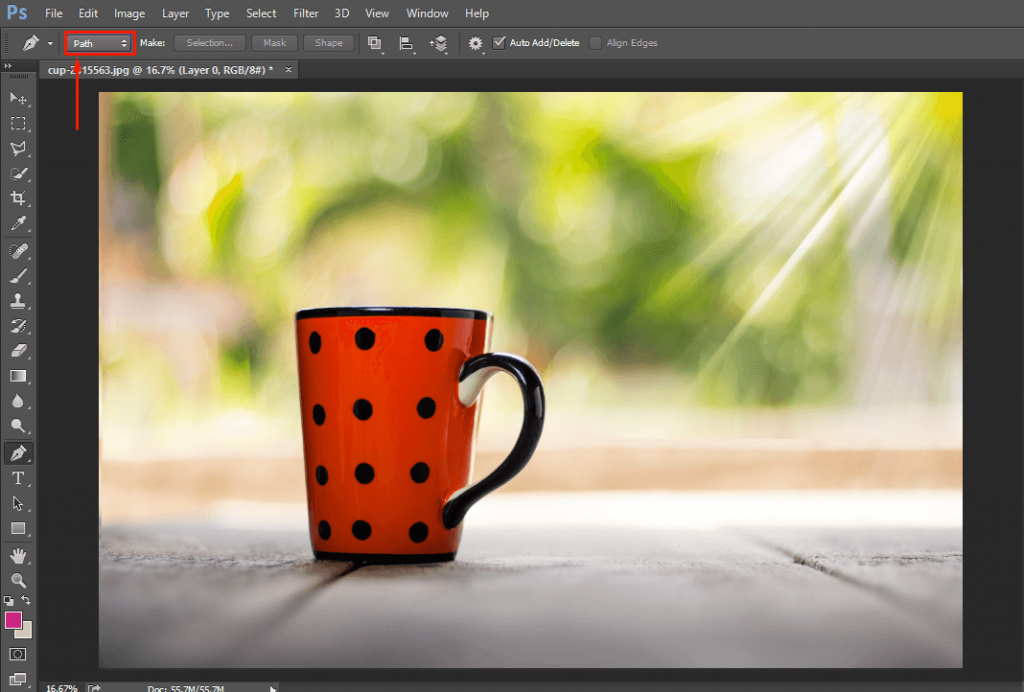
Step 2: Make sure that you are selected path from option bar
Another important fact, you have to make sure there is the path option selected at the top option bar.
Permit me to show you the basics of Clipping Path.
EXAMPLE 1: How to make a path around the object
As I have mentioned earlier, the clipping path is the process of creating paths in photoshop. So, how it works? After picking up the pen tool, you can create lines by clicking your left mouse.
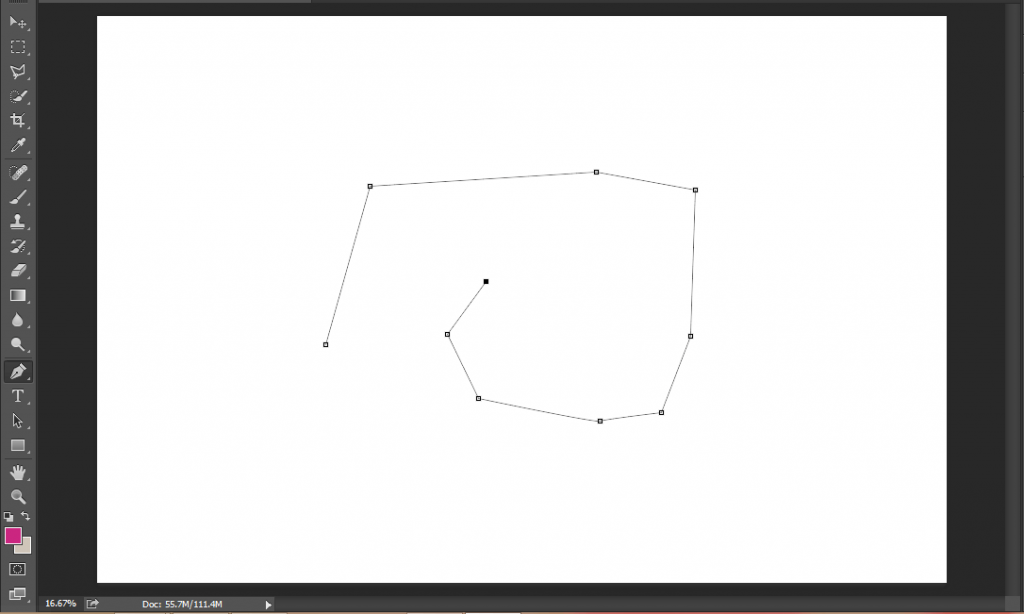
EXAMPLE 2: Joint Anchor between the first anchot to the last anchor
At the time of working on an object, we will create this path around the object. To make the ultimate selection, you have to finish your paths at the starting point.

Want to know how to make a selection of the selected area? Well, hit on the right button and you will find an option called “Make Selection”. Allow me to show you in the picture.
Step 3: Start Making Clipping path
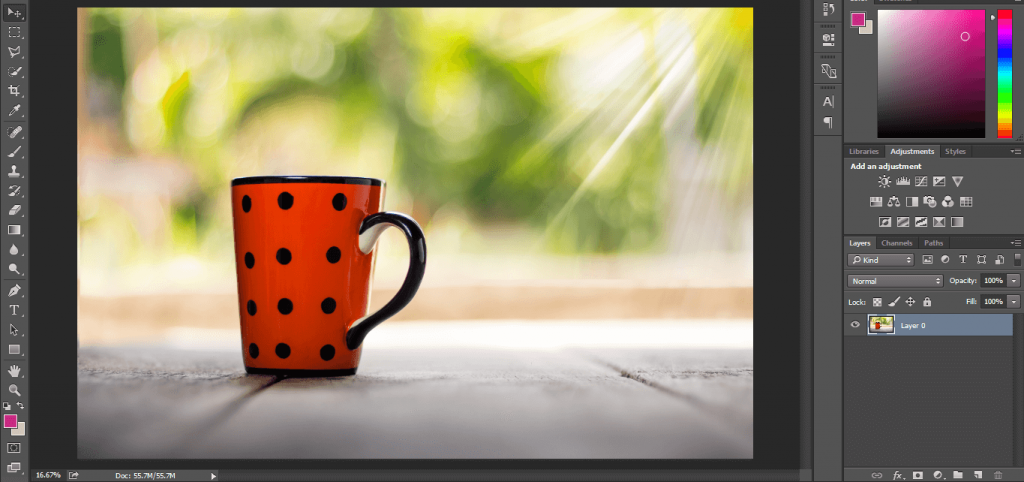
At this stage, let’s do it with an object. Are you ready to do it practically? It will be exciting. I am going to show you practically with this picture.

Step 4: Start drowing anchor around the mug
Firstly, zoom in the picture by clicking “CTRL & +”. Then, we have to start creating paths around the boundary.
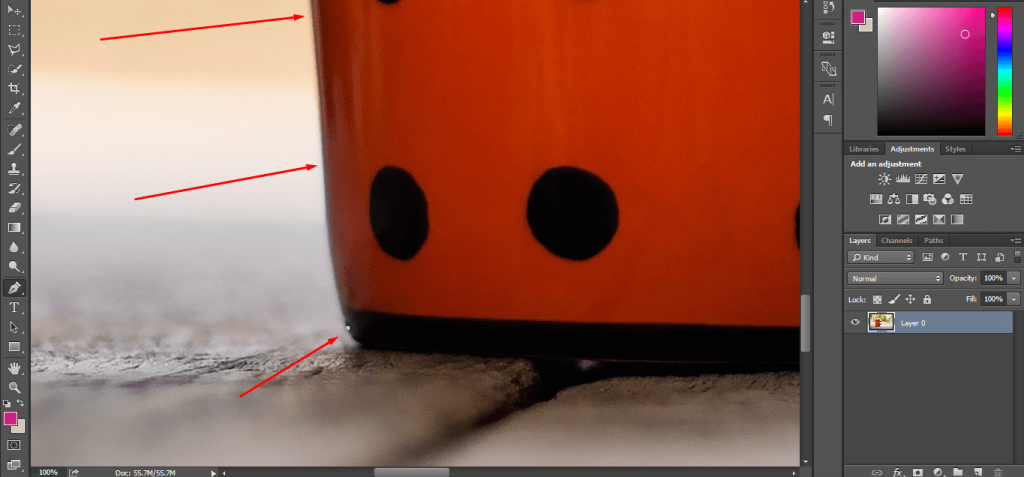
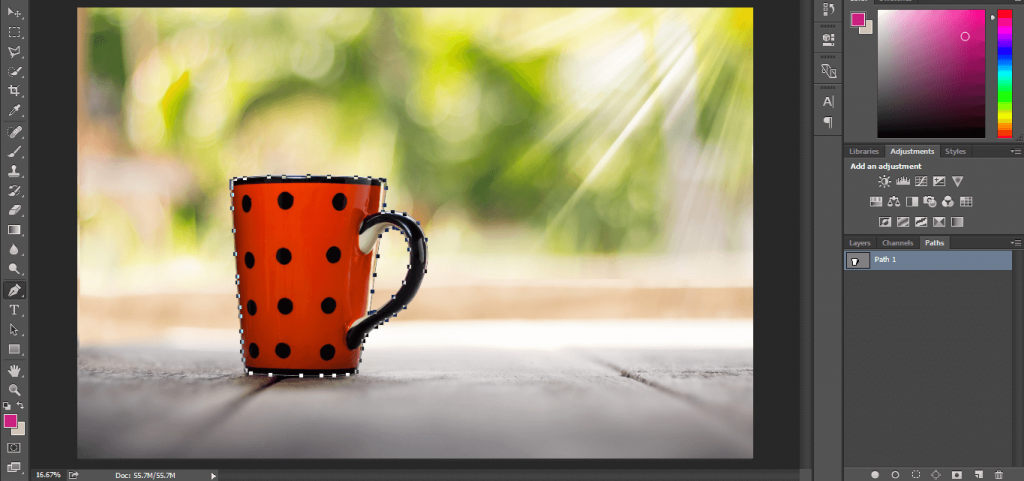
I am starting from the below side of the Mug. Carefully draw paths with the boundary line.
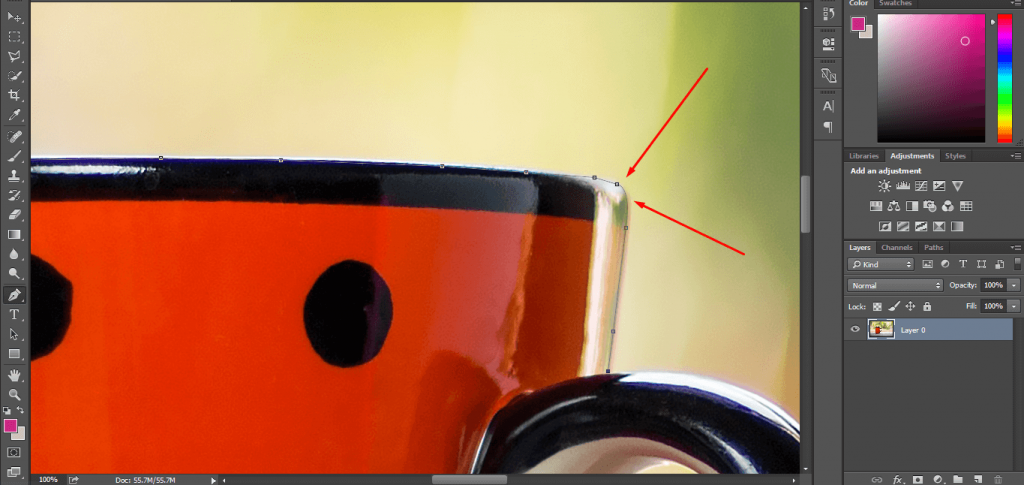
Most of the beginners found it difficult to create a path in the bend area. You don’t have to hesitate in these areas. Simply, press and hold your mouse to curve the line and click ALT to customize it. When you finish selecting your object, finish on the starting point.
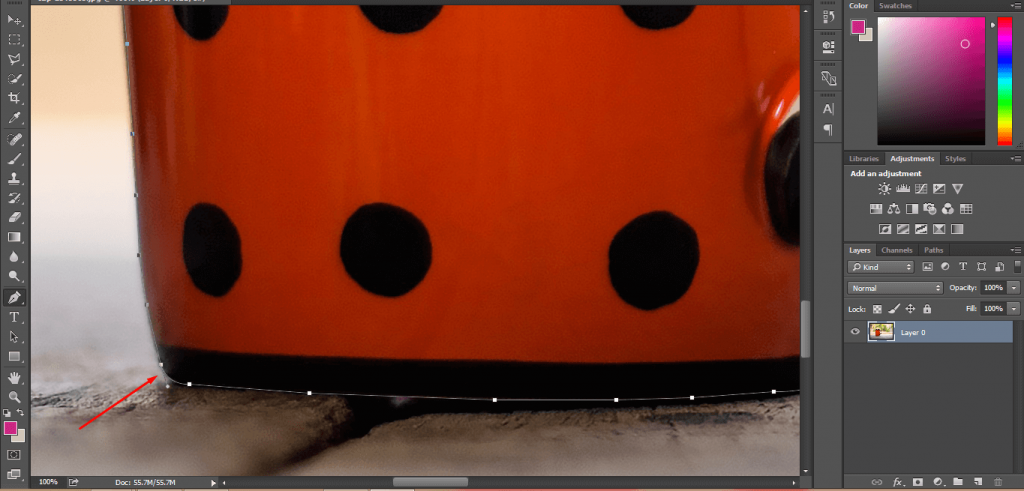
Step 5: Joint the anchor with first anchor point
This is mandatory for all objects. Otherwise, your object won’t be selected. After selecting your object, zoom out the picture by pressing “CTRL And – “.
Step 6: If you have any inside then do it
Now, the mug is selected from the outside. But still, there are inner portions that I have to select. Before we starting selecting the inner parts. I have to save the path. Do you know how to save a path in Photoshop? I’m here to inform it. Click on the path from the right side.
Step 7: Rename work path to path
Then double click on the work path and press ok. It will save your path. After saving the path, go back to your object. Zoom in it and start selecting the inner parts.
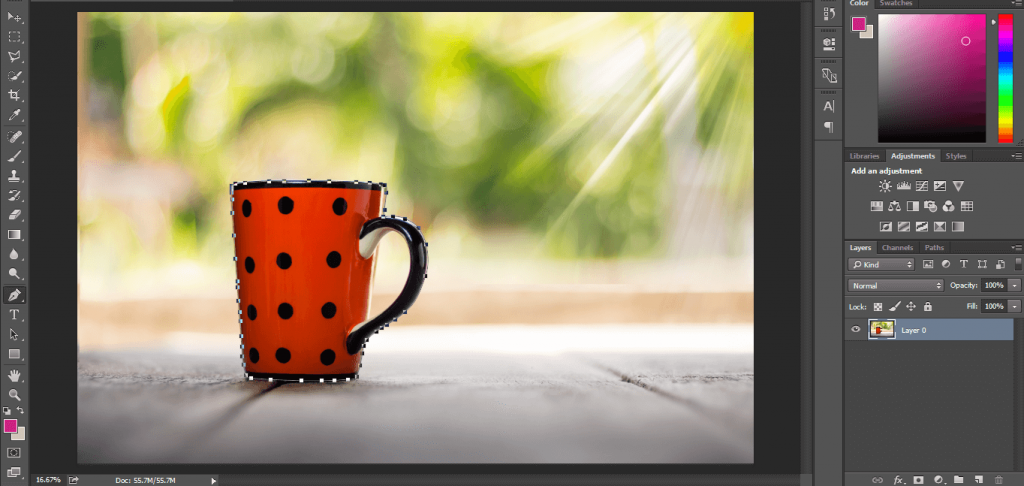
Have a look at my picture after completing the selection.

Step 9: Make a selection
Now, we have to turn our path into a selection. Can you remember how to do this? Hit the right button of your mouse and you will find this dialogue box.
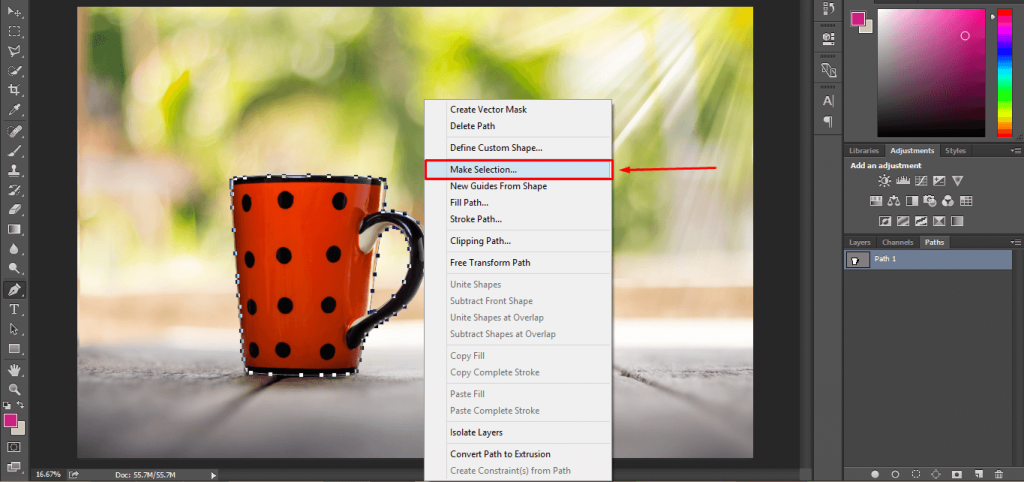
Hit on the make selection and press enter.
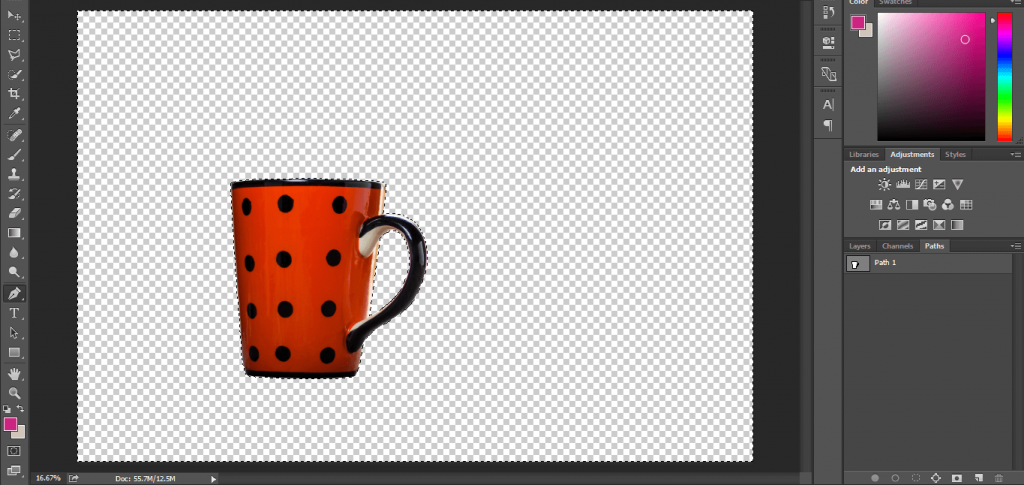
Step 9: Delete the background
Then you will find that your object gets selected. Press CTRL SHIFT I for making an inverse selection and press Delete. Then you will find your object in this form.
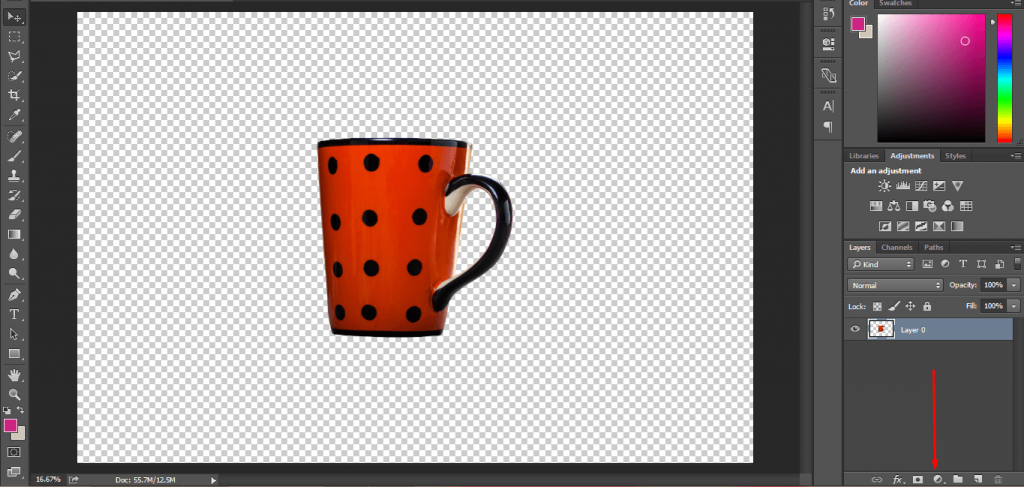
Step 10: Make center the product
After clicking on the arrow icon from the top, you will be able to move your object. You can place the object in the center or anywhere else where you want. This is a great advantage for e-commerce product photo editing and background removal.

Step 11: Put a solid background color
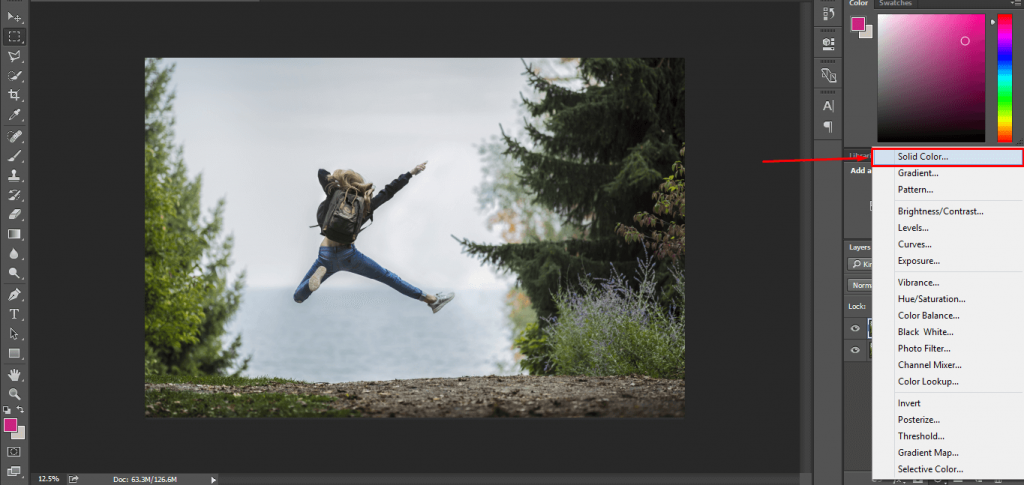
As a bonus, I want to show you how to place a plain background with the E-commerce product. To change the background, you have to click here.
Then you have to choose Solid Color from the top and pick your preferred color.
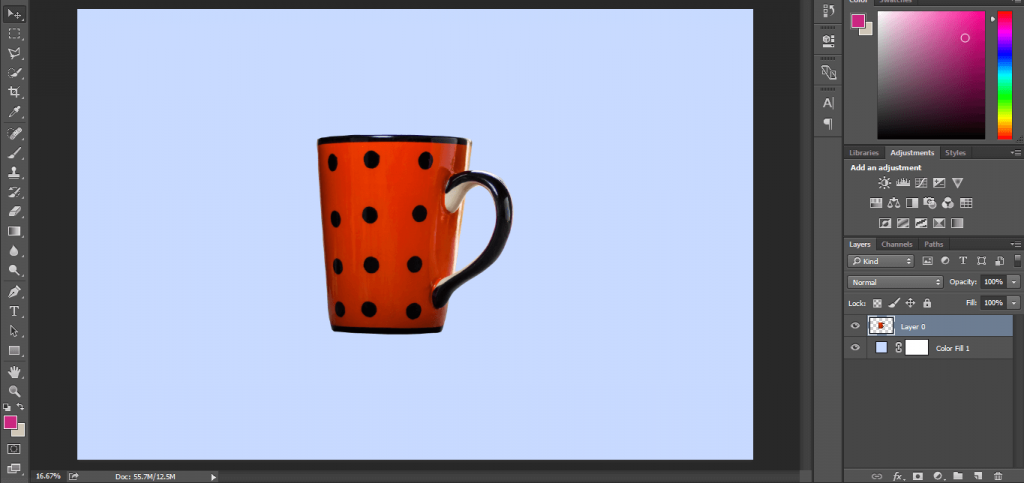
Step 12: Move the solid color layer to bottom
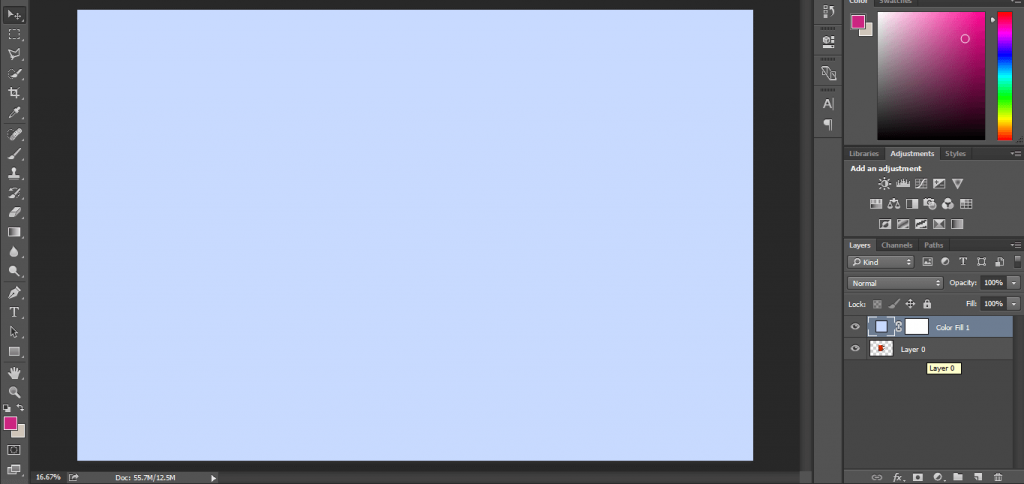
It will bring plain color to the background. Move your previous layer at the top to make your object visible. See the background color has changed!
Even, you can also change the background color at this stage. Simply, double-click on the color fill layer, and the color picking option will be available. Choose your color according to your choice.
You can also apply this technique to your e-commerce product to remove the background.
Final Step: Save it to your drive
Clipping path in photoshop can also assist you to change the background color. Applying the same procedure, you can change the background of your e-commerce product. So, you don’t have to bear the expense of picking attractive background.
Now, I would like to teach you another exciting Photoshop photo editing technique. So, let’s continue.
Hate you any pain, for pen tool I have a solution for your check this out:
OUR POPULAR SERVICES
Background Removal Service
Color Correction Service
Raster to vector conversion service
drop shadow service
Ghost Mannequin Photo Editing Service
image masking service
Jewellery Photo Editing Service
Landscape photo editing service
Neck Joint Service
Newborn Photo Editing Service
Photo Manipulation Service
Photo Retouching Service
Portrait Photo Editing Service
Product Photo Editing Service
Real Estate Photo Editing Service
Wedding Photo Editing Service
How to Make A Silhouette in Photoshop?
There are many people who want to learn how to create a silhouette in Photoshop. This section is especially for those people. In this part, I am going to show you the complete process.
What’s the delay then? Let’s jump to the tutorial. I’m going to show you the procedure with this picture.
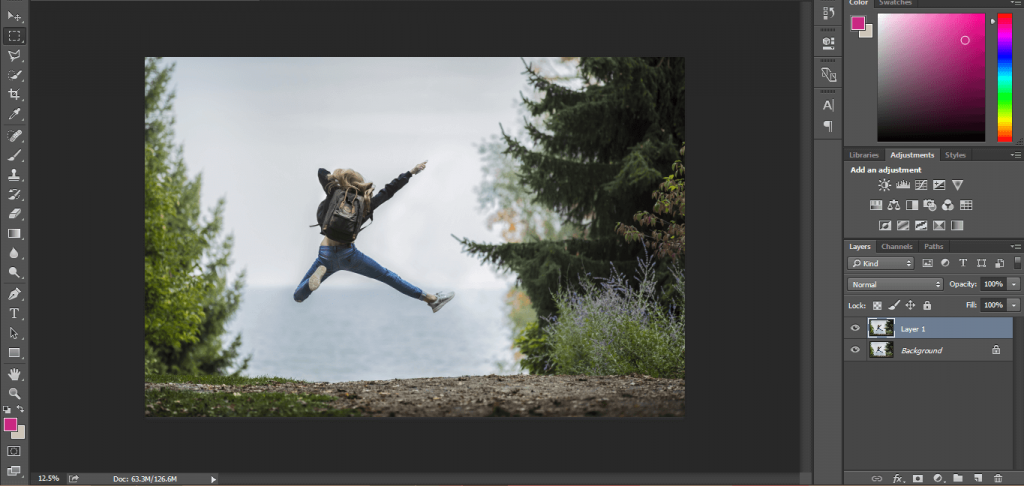
Step 1: Take a white solid color
In the first step, make a copy layer by pressing CTRL+J then we have to take a white solid color layer. You can find the option from here.
Step 2: Move the solid color layr to middle
Pick the solid color option and select a white color. After this, you have to move the background layer at the top and place the solid color layer below it.
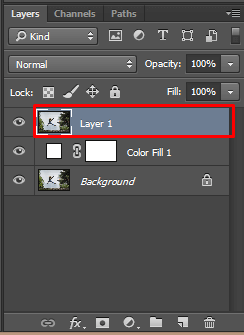
Step 3: Double click on the layer 1
To make a silhouette in Photoshop, you have to double click on layer 1 and customize this option.
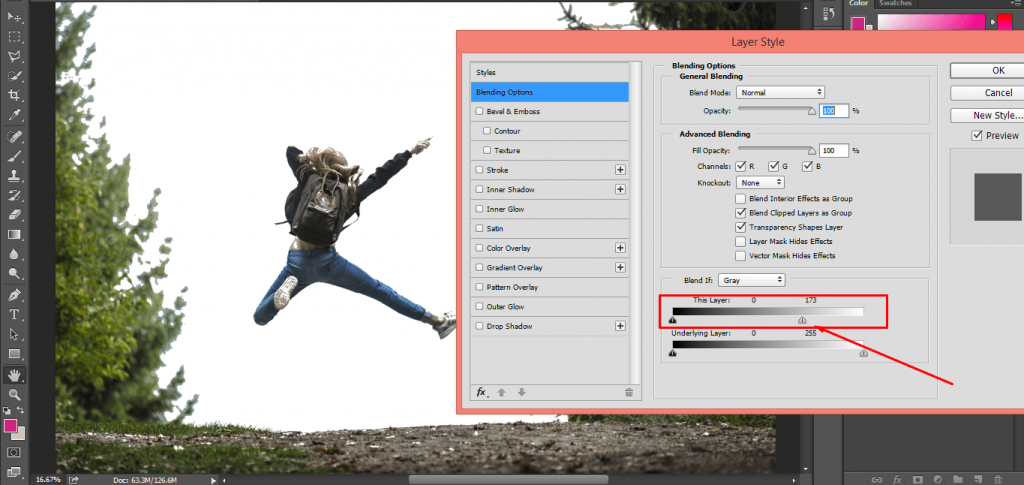
Step 4: Reduce the value and press ok
Reduce the showed value and it will hide the background of your object. Mainly, you should focus on the boundary line of the object. We will clear other parts of the background in later parts of the tutorial.
Press enter when you feel that you have done it.
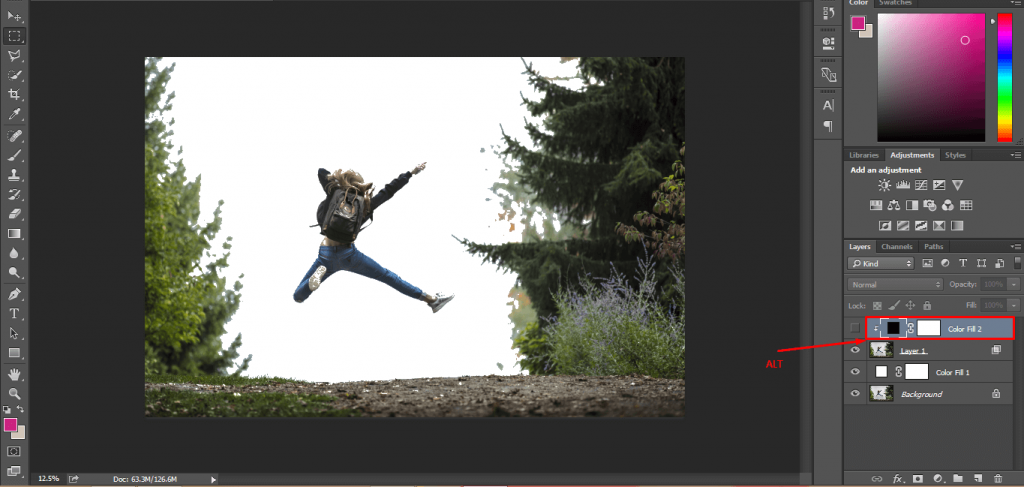
Step 5: Make clipping mask in the top 2 layer
Literally, we have to select the object for turning it into a silhouette. Next, press ALT and click between the top two-layer.
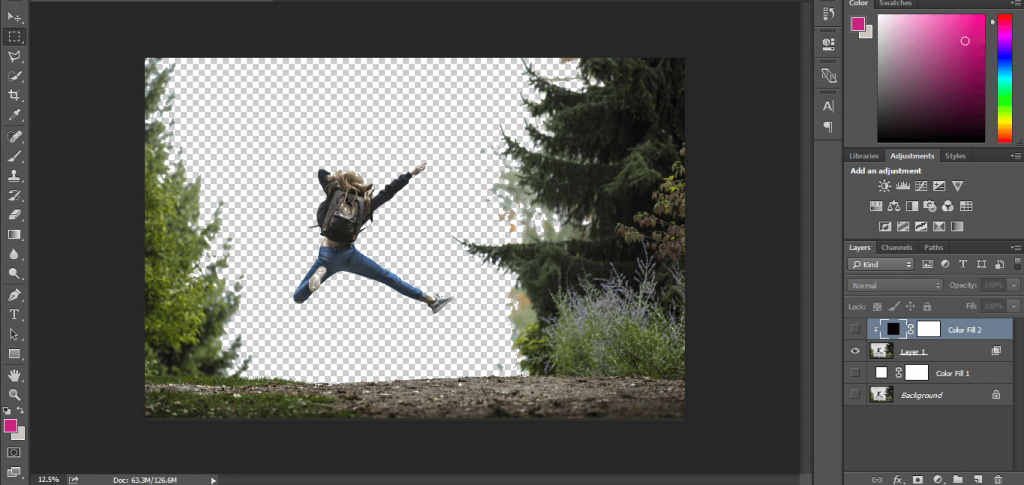
Step 6: Hide all layer eye except layer 1
You should also disable all other layers like this. Click on the eye of the layers and make those disabled. Only, keep the object’s layer visible like this picture.
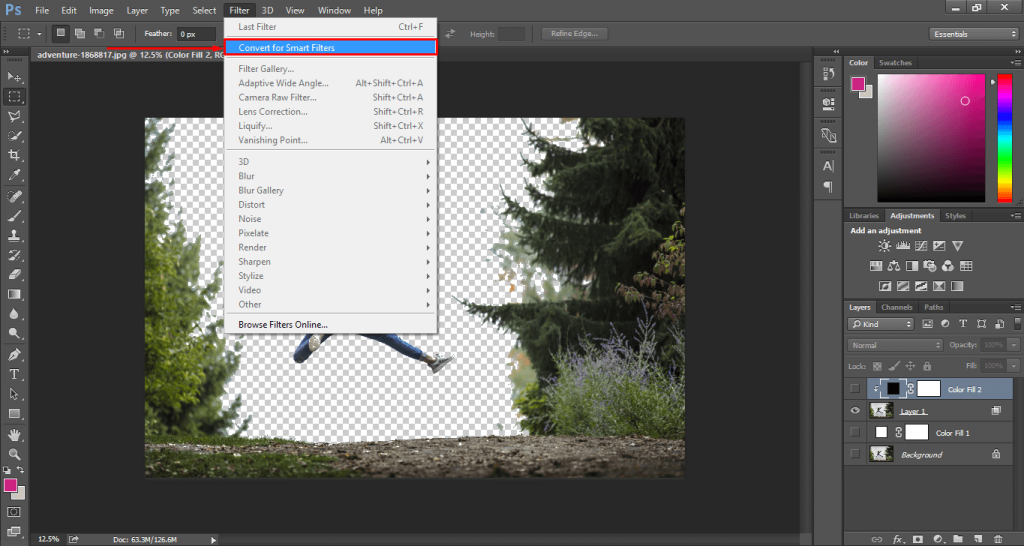
Step 7: Covert this layer with smart object
At this point, we have to select our object. Do you know how to do this? To do so, convert your object into a smart object. Go to the filter menu from the top and hit on this.
Step 8: Make a selection from object layer
After this doing this, press CTRL and click on your object’s layer. Then again, we have to pick a solid color layer. Before doing that delete your previous solid color layer. Later, take a black solid color layer. So, click on layer 1.

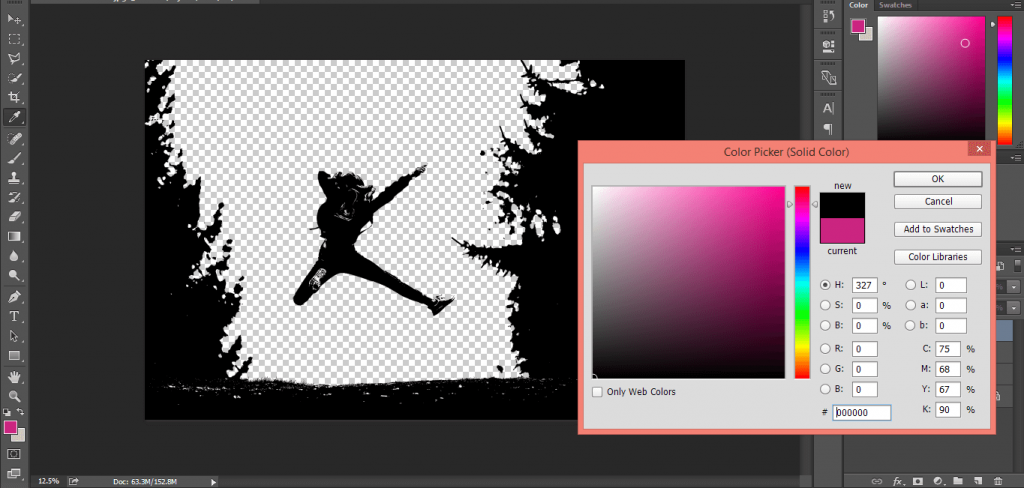
Step 9: Take solid black color
And then choose the black color from the solid color option.
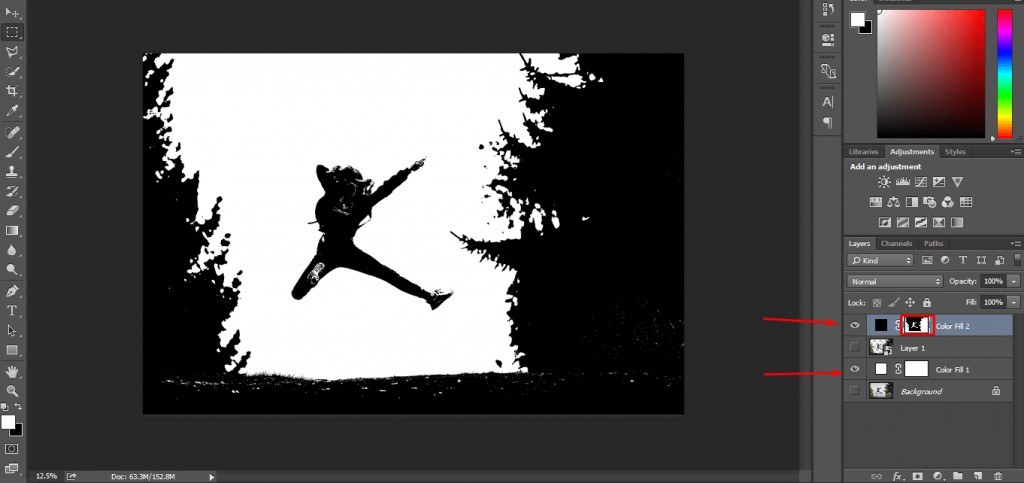
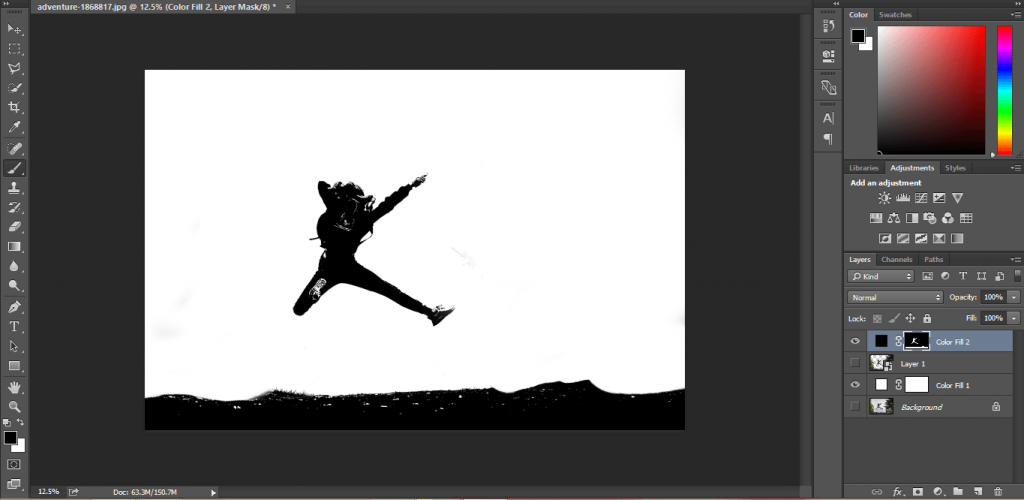
Step 10: Hide all layer except 2 solid color layer
Now, we are in a tricky stage. Make the object layer and solid color layer visible and hide other layers.
Step 11: Fix the object from layer mask
Also, select the mask by clicking on it. Now, we will fix the object. To fix the object, pick up the brush and set the options like this.
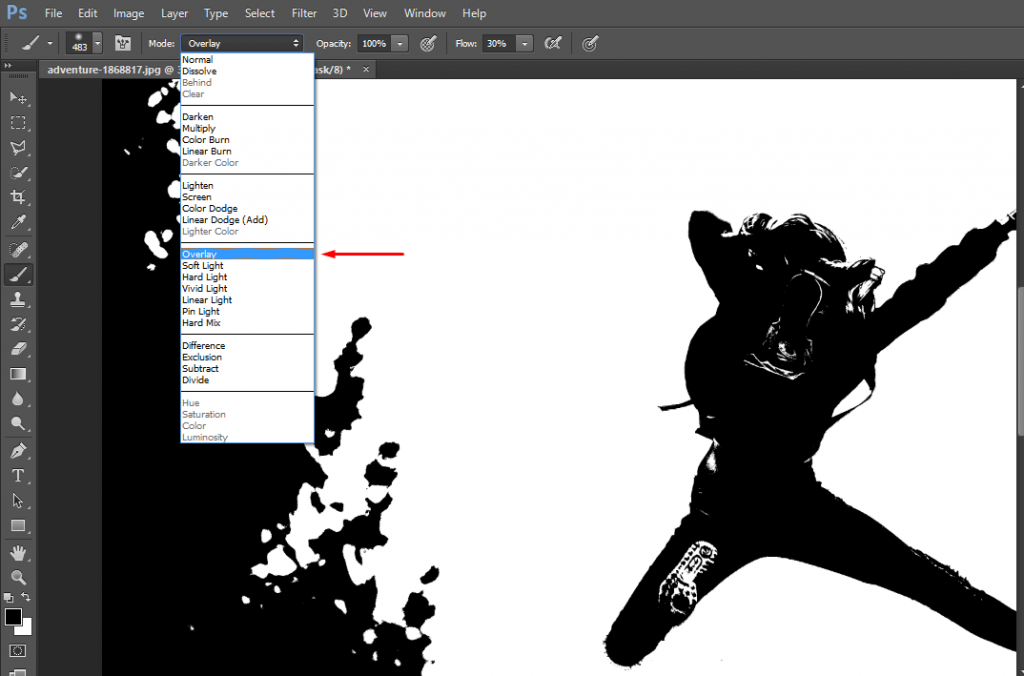
Step 12: Make sure that you are selected soft brush and default black color
Also, make sure that you have to choose a soft brush. You can shift the color of the mask by pressing X. To hide a portion, we have to paint it black and to make anything visible paint it with White.
To make a precise selection of the object zoom in the picture and be cautious about the edges.
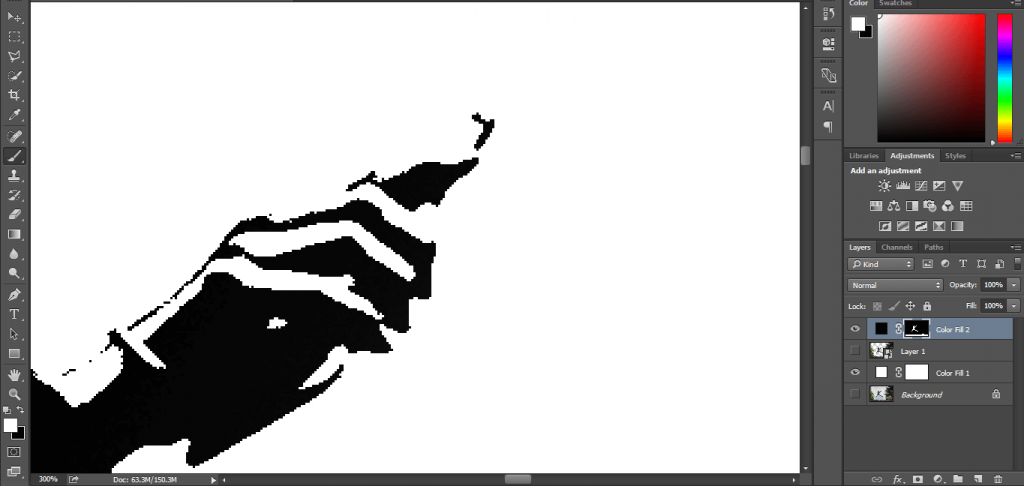
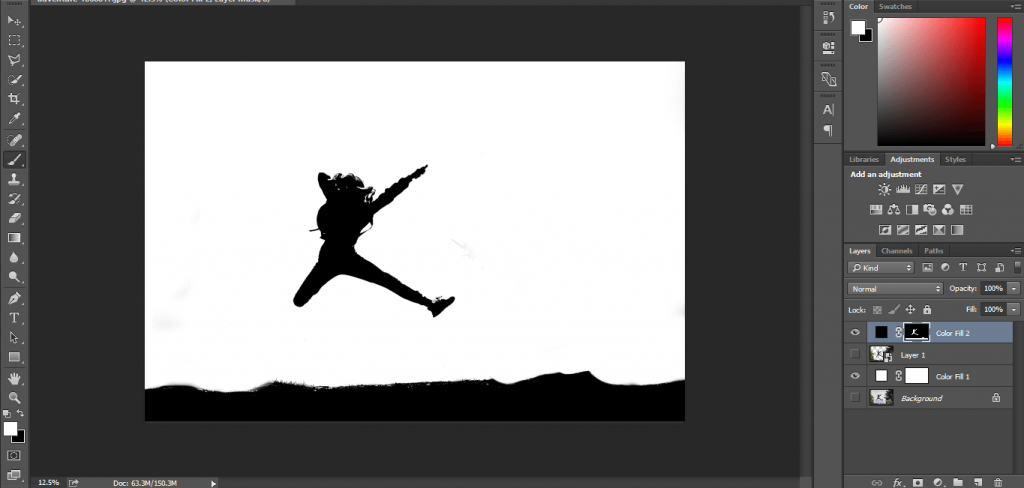
Step 13: After fixing the edge according to your needs.
After working on the edges, I have got this.
Step 14: You can move the layer and place the another object-
We have almost created our silhouette in Photoshop. To place it on another picture, pick the arrow from the top of the left side. Then, drag it on the destination picture.
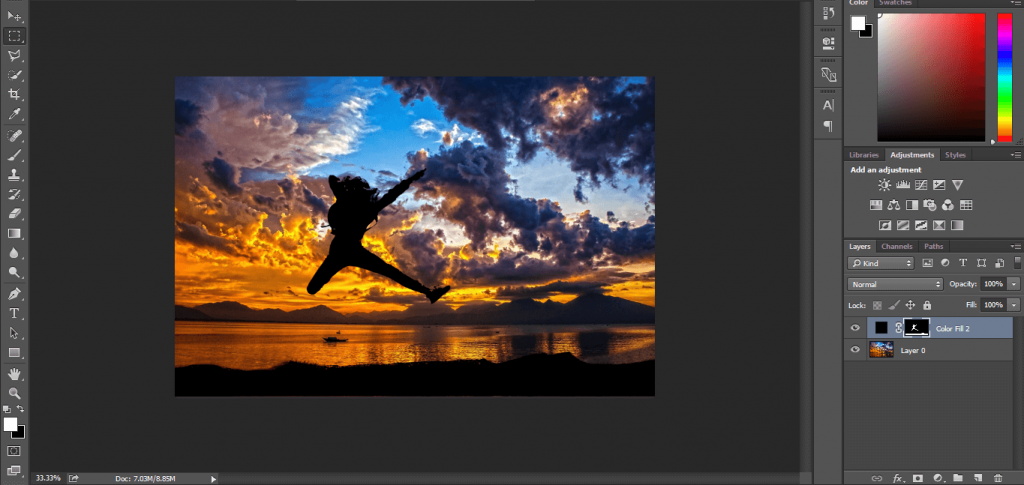
Press CTRL + T to free transform the object.
That’s it for today. I hope you have learned about Clipping Path in Photoshop and creating a silhouette in Photoshop. Stay tuned with cutoutexpert to get more awesome tutorials about Photoshop photo editing.
cut out expert can assist you with Clipping Path in Photoshop and silhouette in Photoshop. We are experienced and skilled in the photo editing industry. To get any kind of Photoshop Photo editing service never hesitate to contact us.
[optin-cat id=9621]


