

If you want to change skin color in Photoshop, there are a few ways to do it. You can use the Hue/Saturation tool to adjust the intensity of the colors, or you can use a color dodge and burn tool to add or subtract light colors from your skin. Some people want to change their skin color in Photoshop but don’t know-how. This article will show you how to change skin color in Photoshop using various methods.
Don’t have Photoshop? Okay, read our article about photoshop crack version
Now, you have photoshop. Let’s try with us changing skin color in photoshop.
Change Skin Color In Photoshop
There are many reasons you may want to change the skin color of a photograph in Adobe Photoshop. Perhaps you need to match a skin tone, or you want to add a more vivid tint to a photo for effect. Whatever the reason, you can take a few simple steps to achieve your desired outcome.
Let’s start
Step 1: Open Image In Photoshop
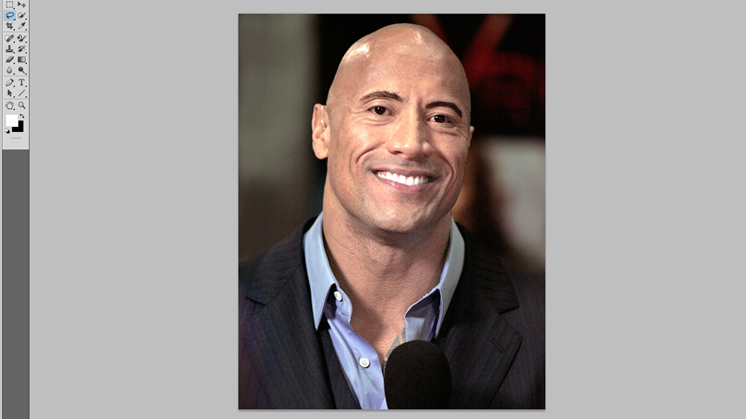
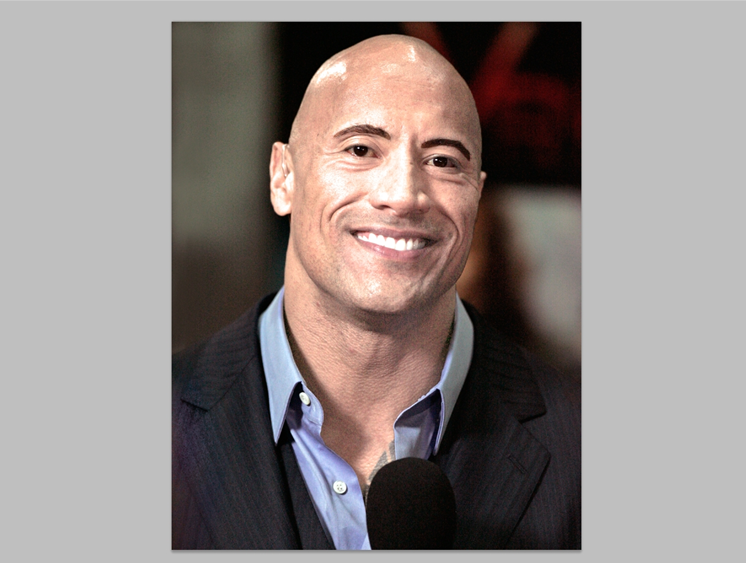
First and foremost, select an image you want to change skin color. For this tutorial, we are choosing this one. after selecting, open the image in photoshop.
You can open the image by clicking on the file menu. In here, you will find an option open image. However, you can also open images in photoshop by pressing the keyboard shortcut key “ctrl+o.”
Step 2: Select Skin Portion
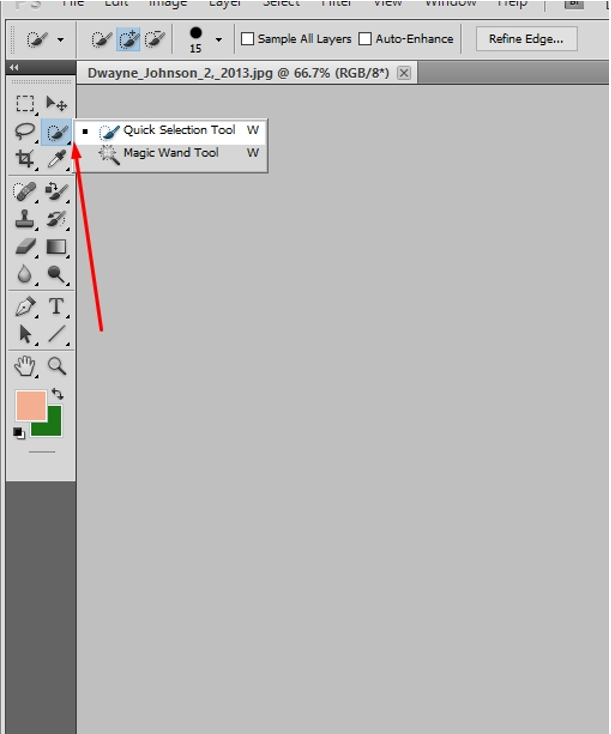
After opening the image, you need to select the skin portion that wants to bring change. There are numerous tools to make the selection in Photoshop. For this tutorial, I am using the quick selection tool. You will find this option from here.
I am just picking the skin.
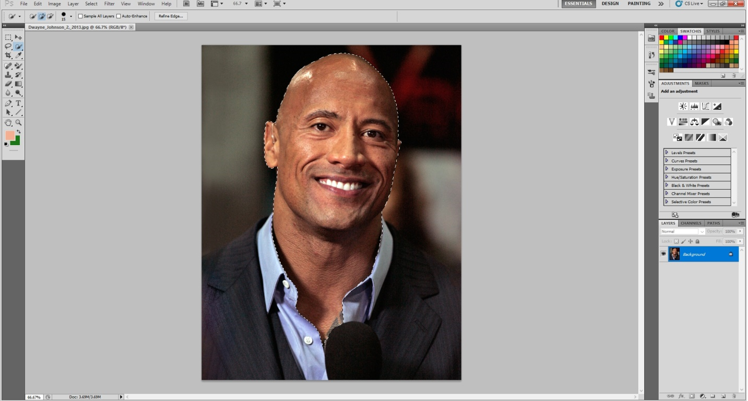
Make sure that you have selected the skin properly that you are willing to make the change.
Step 3: Eyebrows should be excluded from the selection
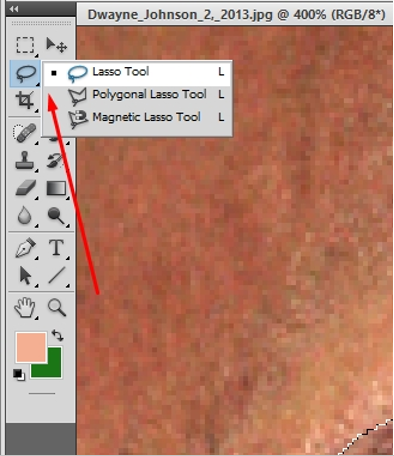
Now, everything inside the selection is included. But the eyes and the eyebrows should be excluded from the selection. Otherwise, it will look odd. To perform this operation, zoom into eyes and make a line around it using lasso tool.
When you are making the selection hold Alt.
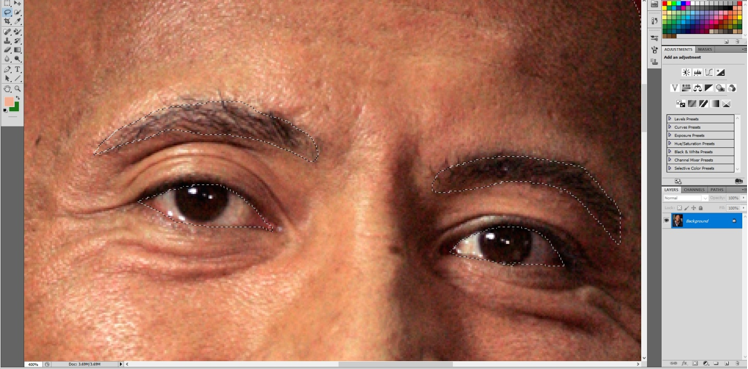
At this stage, we have selected the eyes and the eyebrows.
Step 4: Refine edges
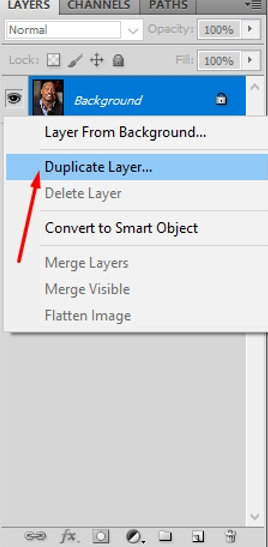
Before we proceed forward, we also need to refine edges to change skin color in Photoshop properly. Firstly, make a duplicate layer of the background.
Our Popular Photo Editing Services You May Like
Clipping Path Service
Background Removal Service
Product Photo Editing Service
After duplicating the layer, make sure that right-click on the mouse and choose refine edge.
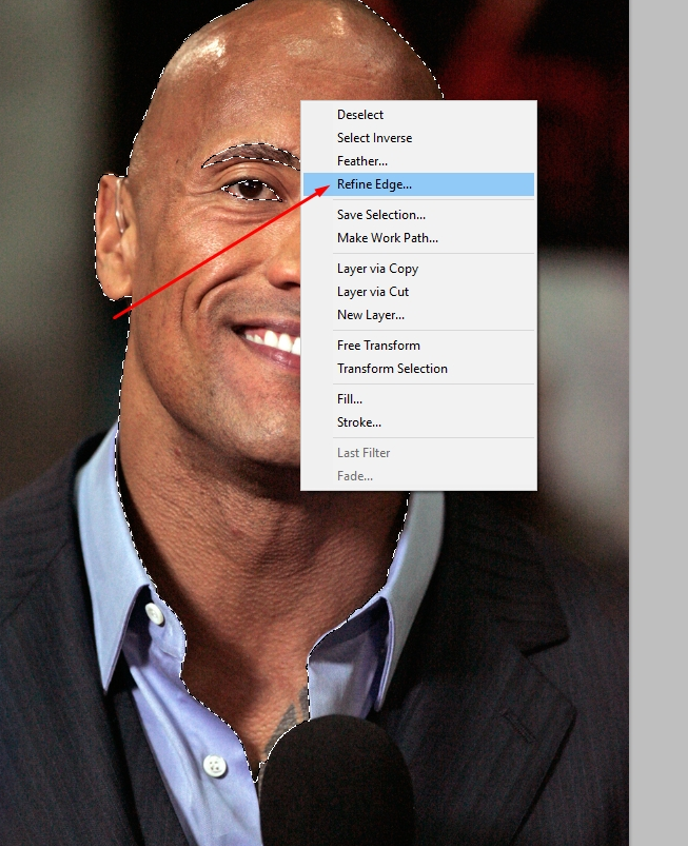
Later on, increase the smooth option to fix soft edges.

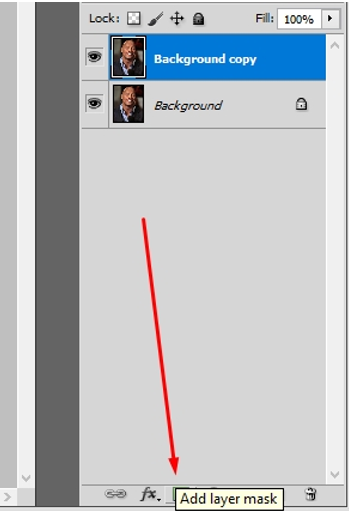
Step 5: Make a mask of the selection
After this make a mask of the selection. Then the change we will make it will be applicable only for the selected parts.
Step 6: Use Adjustment Level
In the next step, go to the level option from the top.
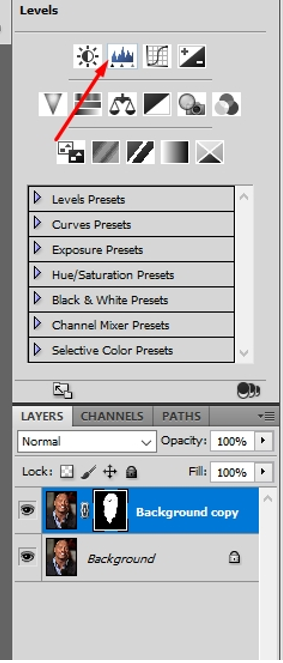
After clicking on here a level will be visible from here. Set the value of these two about to this.
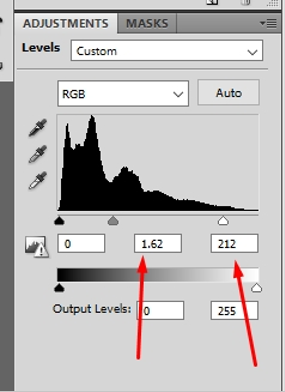
Look the picture has got brighter but still, it is not looking natural.
Step 7: Create Clipping Mask & Highlight the selection a bit from Curve Adjustment
Moreover, the change that we have made is applied all over the picture. To make the changes selection wise go to the layer and select this option by right-clicking.
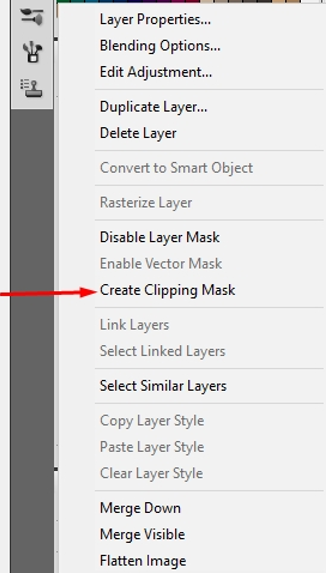
Now the change will cover only the selected parts. Your job is not done yet. Go to the curves option from the adjustment panel in order to highlight the selection a bit.
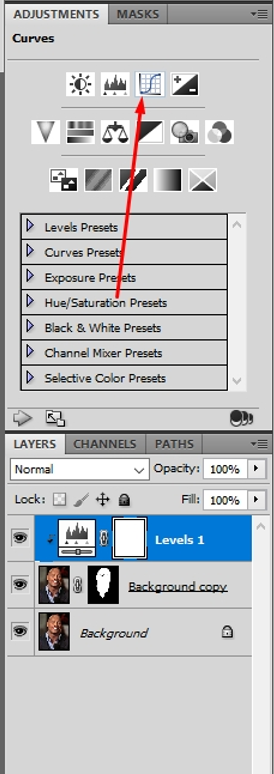
After this repeat the previous process of click on create clipping mask.
Step 8: Make the saturation a bit low from Hue/Saturation
Then go to this option and make the saturation a bit low and don’t forget to click on clipping mask after making the change.
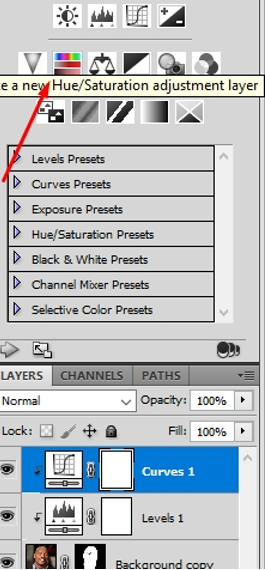
Step 9: Make it Black and From Adjustment of Black & White
When it is about changing skin color in Photoshop the best practice is to customize in black and white form. To do so, click on here and you will get a black and white view of the picture.
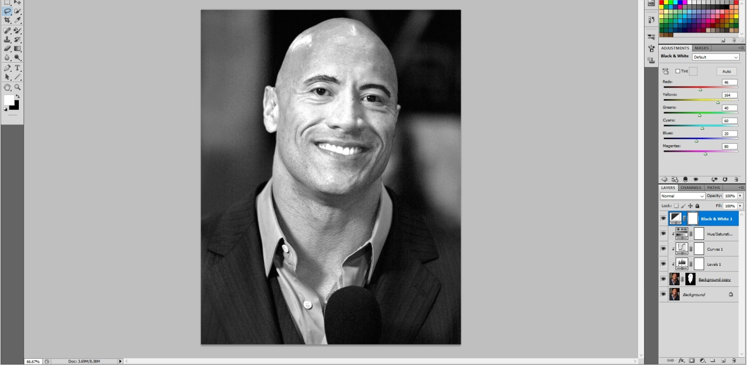
Increase the value of the red and yellow color from the color adjustment from the right side.
Step 10: Change the Black & White Layer Blending mode normal to luminosity
After this change the presets of this black and white layer from normal to luminosity from this option followed by create clipping mask.

Look the picture has become brighter but it’s looking unnatural.
Step 11: Reduce the opacity of Balck & White layer
Reduce the opacity of this layer from the top of the layers panel option.
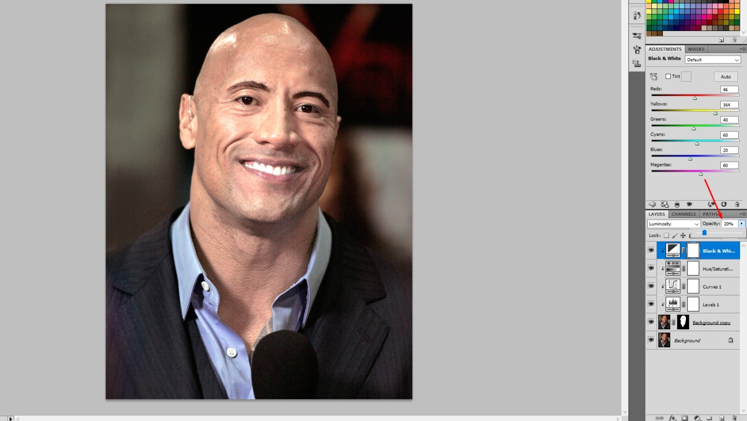
Now it is looking pretty good and not perfect. We need to customize the color balance a bit to give this picture a perfect look.
Photoshop change skin Color (Milk And Chocolate Skin Color in Photoshop)
Step 12: Color Balance
After reducing the opacity of the current layer go to the color balance option from here.

This is a tricky stage for color change in Photoshop. At this stage, you need to perform it based on the color. If you feel that there is excess red color in the picture then reduce red and increase the value of others a bit. Same things to follow when there is an excess green in the picture. Reduce the value of the green color and increase the red color a bit.
Step 13: Remmember
The previous process of create clipping mask is also applicable for this stage too. Or else, it will affect the entire picture. That can ruin all the hard work you have done till now.
Last Step: Make a Group for All worked Layer
After balancing the color properly based on the picture type create a group from the layer panel. Simply click on the create group icon from the beneath of the layers panel and then the group will be created.
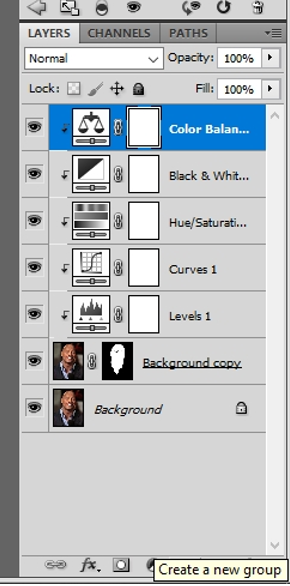
Then select all the remaining layer excluded background layer and move them into the newly created group. To select all the layer clicks on each layer while pressing CTRL and then drag them into the group icon. That’s all. Save the picture according to your required format. Let’s show the result,

In this procedure, you will be able to change your skin color in Photoshop for any picture.
Conclusion
Now, you’re able to change skin color in photoshop. However, for doing your work more smoothly, below we are sharing some quick tips and tricks that will help you to do the operation professionally:
-When there are sharp and soft edges in the object, use the color range option to select.
-Every time you make any change to the picture, make sure that you create a clipping mask option afterward.
-While working with hue and saturation, don’t set the value too high or too low. Try to keep things natural.
-At the time of working with a black and white layer, change only red and yellow. Cause only these two colors are appropriately engaged with skin tone.
-At the end of the primary correction. Use the color balance option to give the finishing touch and remove all the unnecessary colors.
-Make sure that you have excluded eyes and eyebrows from your selection.
We hope from now on; you will be able to change skin color professionally in Photoshop.
Cheers
Read Also
how to cut out images in gimp and photoshop
how to remove shadows in photoshop
amazon image size requirements
best app for real estate photos
[optin-cat id=9621]


